We are excited to share with you the exciting design and beautiful execution of masonry heaters by a Canadian collective name L’Esprit du Lieu (Spirit of Place). Jean-David Morneau and Andrée Perreault both exemplify the combination of mastery of technical skills with a sensitivity for human comfort and design that makes for a great heater building team.


A plastered finish on masonry heaters allows for both a timeless feeling of tradition as well as an elegant modern look. All images provided by L’Esprit du Lieu and published with their collaboration. Their work is informed by Austrian masonry heater building traditions.
Join the discussion at forums.firespeaking.com
10 more replies
For more information visit this very informative thread in the forums on plastered masonry heaters.


Max, we have had very good luck with installing 2 coats of a very good latex modified thinset with a layer of fiberglass stucco mesh embedded into these 2 coats. It is a crazy bulletproof coating. We had to demo a stacked heater a few years ago on a second floor heater because the new clients did not want a stucco finish on their second floor. So we removed the second floor heater and built them a new stone heater on top of the first heater. The demolition took about 8 hours because this stucco system held all the 4″ solid CMU together so well.
When we do a stucco system like this, we always insulate above the firebox 8-12″ and out past the doors 6-10″ with 1/2″ ceramic wool to block some of the heat in this area. We would still end up with a minor expansion crack in the firebox door area but this was the only area on the heater that had any expansion cracks. The thinset base coat of stuccos was finished with 2 coats of lime and silica sand stucco (3:1 sand to hydrated type S lime) Here is a pdf explaining the process. Our clients have not had any issues with the off gasing of the latex based thin set.
Stucco Finishing on a masonry heater.pdf (1.4 MB)
Hi there from the Netherlands,
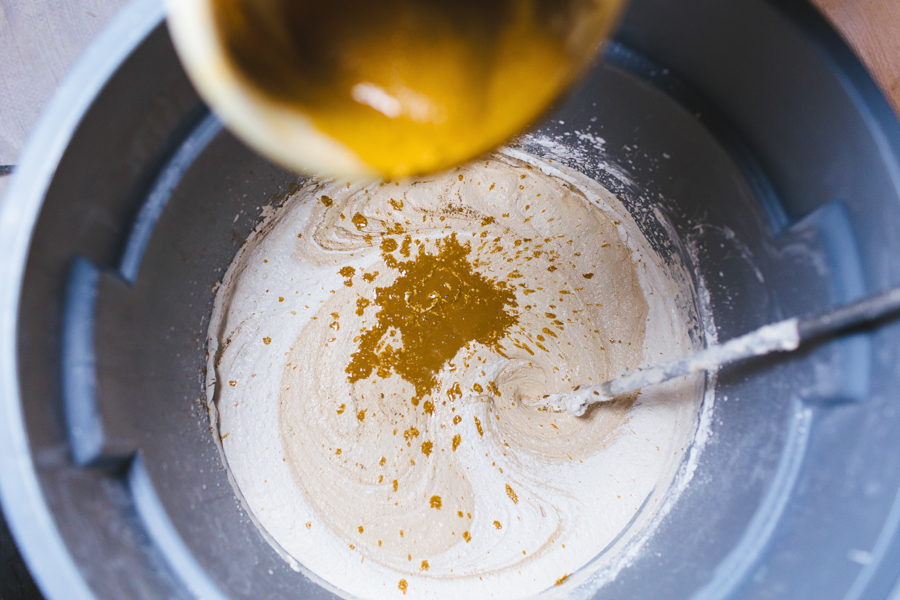
We build the outside skin of our stoves with compressed claybricks (sometimes called adobe bricks). 100% natural, they are big and you can simply use clayplaster as mortar. The bricks are finished with one layer of base clayplaster wich has bigger parts of sand in it up to 6 mm. And into the wet plaster we put a fiberglass mesh which makes it superstrong and prevents 100% cracking. After that we apply a coat finish plaster. Also made of clay with very fine sand and avalaible in all colours.
No need for chemical mortars here. Lime can also work out fine but I love the natural touch of clayplasters more.
Here you can see the orange mesh in the browncoat base layer. And also the white finish clayplaster.
I forgot to say that the claybricks have excellent heat accumulating properties and also help with regulating the humidity in the house. Just nature doing its thing.
Mas Con Menos,
Thanks for sharing these techniques. I’ve had a little fun with adobe-faced heaters. I have several questions, if you’re willing:
Are the compressed clay bricks you used commercially manufactured or site made?
If site made, what do you aim for as far as composition?
What dimensions (especially thickness) are the clay bricks? (mm fine)
What thicknesses are the 1st and 2nd layers of plasters?
Looks to me like the firebox door gets a sheet metal jamb wrapped in 1/4″ ceramic paper, plus a 1/4″ ceramic paper gasket all around the opening between core and clay brick to prevent cracking, anything I missed there?
It also appears that there’s a header of some kind 1 course above the firebox door- is that correct? What is that material? If it’s structural, could you do a welsh arch above the door as an alternative?
Thanks!
Jeremiah
Wow, fantastic replies so far. It is really wonderful how we can each receive inspiration and expand our knowledge base with this sharing of experience.
Thank you @SolidRock for your detailed answer and attached instructions.
Thank you @Mas_con_Menos and @borealheat for also sharing your experience and beautiful heater examples.
@Mas_con_Menos, it would be great to receive evidence that your plaster strategy is working well after your heaters have gone through significant heating/cooling cycles and the correlating expansion and contraction. I think that you have a very nice approach and strategy in place and since we are seeing process and recently finished work, I just want to verify that the plaster strategy holds up through use. We have personal experience on a number of heater projects with clay plasters early in our career without mesh reenforcement showing more cracks with use than would be desired for a professional result and it is as important as ever in today’s image-forward culture to dig past the beautiful images towards the truth.
What seems common to the three methods you have shared is the EFIS-style ~1/4” fiberglass mesh. It makes sense that this material embedded would give a nice endoskeleton to the plastered skin.
Each of us who have responded in this topic so far are also building double-skinned heaters and taking care to maintain a consistent expansion joint. I am pretty sure that the double-skinned approach is essential for a succesful plaster.
I still am wondering about the use of added polymers in “modified” products like thinset. It is good to receive @SolidRock’s assurance that his clients have not experienced off-gassing issues as I think Eric has built more heaters than most in North America. It’s convenience (easily obtainable and very easy to apply) and strength are good things going for it.
Keep it up and I will work on inviting additional voices to this thread.
Great forum Max! And thanks to everyone for posting so far…
Just thought I’d chirp up and say that in my experience too, embedding 4.5oz EIFS 1/4″ fiberglass mesh into clay or lime finish plasters has been a game changer.
One thing worth considering is the differences in resilience/elasticity between finish plaster and substrate. I’m not sure if this is just in my head, but a cob brown/base-coat plaster tends to have a bit of elasticity to it. Much in the way people say an earthen floor feels like walking on leather. So, applying a more rigid lime finish plaster can be problematic. I try to resolve the issue by adding a lot of finely chopped straw to the base coat. But maybe there are better ideas.
Pat
amosclayworks.ca
Hi Max, great response. You are really making this a vivid discussion.
Clayplaster has been a succesful approach for over 20 years of masonry heater builds here in europe.
It is super simple. These are the details to pay attention for:
The fiber mesh works as steel in concrete. It connects all the pieces into one solid structure.
Base coat can be up to 1 or 2 cm thickness.
Finish plaster up to 2 or 3 mm.
In this way you will never have any cracking issues. Guaranteed as long as you are using an expansion joint.
Trust me, every masonrybuilder is doing it this way over here. And I did a lot of clayplaster on stoves and strawbale houses as well.
Have a look at www.vuurmeesters.nl for example. They started using claybricks and plaster and build hundreds of stoves in all kind of shapes thinkable.
Here you will find two links with more examples of clayplaster finished masonry stoves.
https://www.vuurmeesters.nl/kachels/leemkachels/galerij.php
www.devrijlemerij.nl
Hello everybody,
This is a great topic and I really appreciate the exchange. I’ve waited a bit to share my toughts, so this post might be a little longer than necessary… Bear with me.
Plastered heaters are beautiful and allows a large unit to merge with it’s surrounding seamlessly. The design possibility are endless, as it allows for curved shapes and unconventionnal dispositions. That is probably why, as we started our practice as L’Esprit du Lieu in Québec, Canada, our clients kept asking for plastered heaters. We probably built around 30 of these over a period of 12 years
I’m totally on board with Max, who is concerned about potential cracking on such heaters. They do have to be treated with caution, as even the smallest movement on the masonry will result in a crack that is going the be quite hard to repair. Over our 13 years of practice, our construction methods have changed significantly for these heaters, the main reasons being trying to reduce the risk of cracks.
Here are the main methods we experimented:
1-Traditional austrian method: I first learn with an austrian man living in Canada, Ersnt Kiesling. These heaters had thin walls and were constructed of a double width of firebrick shiners. We used austrian hydraulic mortar for the exterior, clay mortar for the interior. A 1cm airgap was maintained between the two skins.
(We even used stovewire to maintain the integrity of the firebrick facing, a time consumming method that we anbandonned after speaking with austrian builders.)
A coat of austrian refractory-hydraulic was applied, then a first coat of plaster with a fiberglass mesh embedded. A second finish coat completed the plaster.
This method produces very responsive heaters with a higher output, since the walls are thinner. Downside of this method: the heaters tends to develop hot spots around the firebox area. This is probably one of the main reason for thinline cracking that can appear on such heaters. Overall, we built around 15 heaters following this technique and we have only small hairline cracking on some of them, no major issues. The only one that was more problematic was the one we built for our home, our first heater of this type:
There was (and still is, as I’m looking at it right now) quite a few hairline cracks on the plaster, and some bigger cracking around the door. The main reason for this is probably the fact that we aplied the plaster on freshly laid bricks. That decided us to dry and heat every other heater that was constructed in this fashion. It really helped to diminish the cracking.
2-Air gap heaters. After learning about modern austrian heaters at a MHA meeting, we set up tho upgrade our construction method. Air gap methods totally separates the core from the facing. The final facing is quite thin (about 3cm) and heated air in bewteen core and facing insures heat transfer. This technique uses special mortar (Haftmortel) and either splits or refractory plates for facing. It gives a lot of room for creativity and allows a lot of design freedom. The nicest heaters we built (in our view) are constructed in this manner:
The downside of this method is it dependance on imported material and the extra work involved in building the last layer. It would work only for very high end heaters, as the budget rises significantly. The thinline cracking was almost totally eliminated with this method.
3-Standard double skinned heaters. We got back to standard heaters, with a firebrick core, an expansion joint and a masonry facing.
After laying the facing with firebrick shiners, we transited to 4’’ full concrete blocks. We lay the block with thinset mortar, creating a facing with very thin joint (first course is leveled with a standard mortar). This has been the method allowing for the most cost efficient heaters in our view. They perform very well in modern, well insulated houses.
Some notes on plastering:
-We use a mix of thinset, lime and sand as a first coat, in which we embed the fiberglass mesh. This coat is essential, because you need to bond the plaster to the masonry substrate. Other more “natural” first coats are possible, like mixes with caseine, but it remains a little bit more risky.
The second and third coat (lime and sand)are applied one after the other (coat on coat).
Design considerations: avoid plaster in areas where there is a lot of friction or contact.For back rests or hiigh use areas, an additionnal coat of carnuba wax is applied to protect the plaster. Never build a wood storage covered in plaster (protect this area with stone tile).
We often added fibers to our plasters, such as flax and hemp. In addition to adding texture, these fiber really reinforce the plaster and prevent cracking. The same can be done with horse manure (sounds strange, but was experimented with great success at a MHA meeting by our collegue Jim Schalles).
The solution to use clay on adobe bricks is excellent, it seems like such a natural way to build a heater! On the other hand, availability of the material is an issue in North America… Manufacturing masony unit maybe possible, but it is very labour intensive (I’ve tried, believe me…).
There is a lot more to say on this matter… But enough for now!
Wow! I think this last post by @Cooperative_L_esprit left us all speechless! Thank you so much for sharing these great thoughts about lime plaster for heaters. I look forward to following up further.